
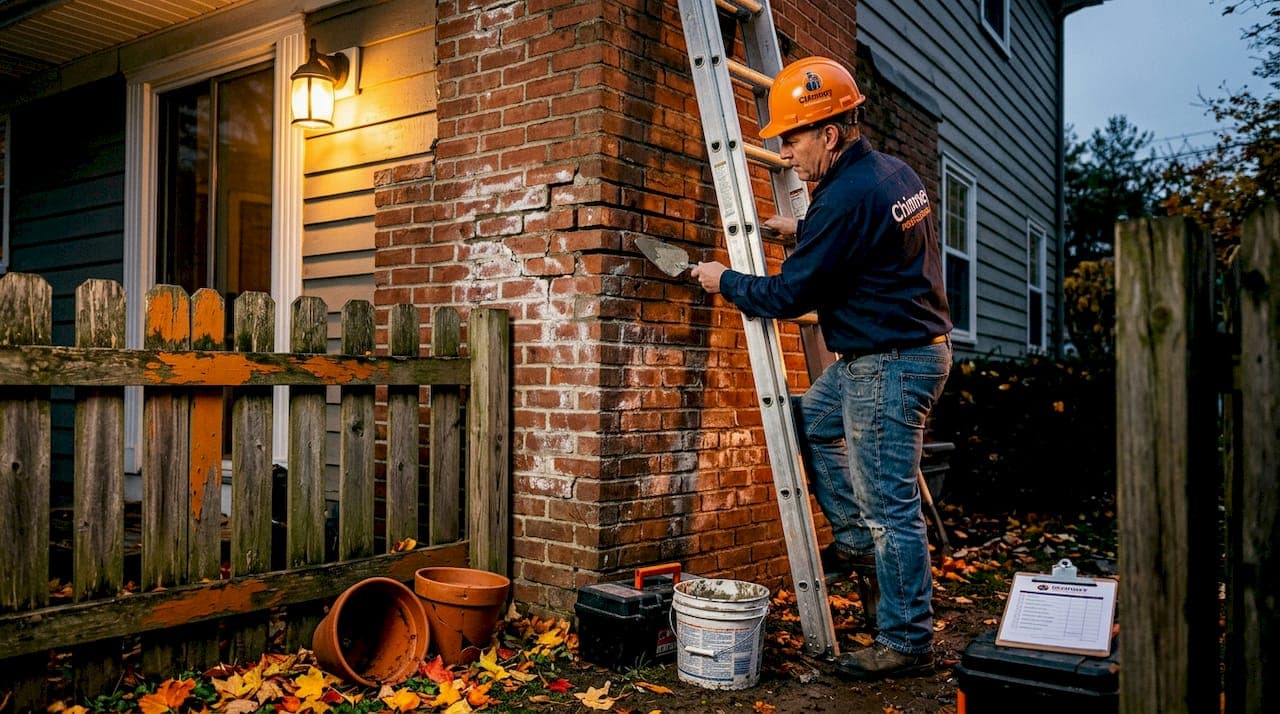
Water silently tears apart older chimneys from the inside out. If you own a home built before 1980, older home chimney water damage repair is likely one of the most underestimated maintenance issues on your property. Porous historic bricks, aging mortar joints, and original flashing systems were never designed to last indefinitely, and the damage they allow goes far deeper than a few stains on the wall. This guide walks you through exactly how to identify, repair, and prevent water damage in an older chimney before it becomes a structural crisis.
Table of Contents
- Key takeaways
- Older home chimney water damage: causes and warning signs
- Tools, materials, and when to call a professional
- Step-by-step chimney water damage repair
- Verifying repairs and maintaining your chimney long-term
- What I have learned repairing water-damaged historic chimneys
- Protect your chimney with Chimney Professional Services
- FAQ
Key takeaways
| Point | Details |
|---|---|
| Act before damage spreads | Moisture migrates into wall cavities and floor joists fast, causing damage well beyond the visible entry point. |
| Use compatible materials | Lime-based mortar is required for historic brickwork; Portland cement causes cracking and accelerates deterioration. |
| Spot the early warning signs | Efflorescence, rust streaks, and musty odors signal active moisture intrusion long before cracks appear. |
| Budget realistically | Simple repairs range from $160 to $750, but a neglected chimney can cost up to $15,000 to rebuild. |
| Maintain consistently | Annual inspections and seasonal maintenance extend the life of your repairs and protect your home long-term. |
Older home chimney water damage: causes and warning signs
Understanding why older chimneys fail is the foundation of effective repair. Most historic chimneys were built with soft, hand-pressed bricks and natural lime mortar. Both materials are porous by nature. Over decades, water penetrates through micro-cracks, spalled surfaces, and deteriorated mortar joints, then freezes and expands during cold months. This freeze-thaw cycle is relentless. Each expansion slightly widens existing cracks, and each thaw pulls more moisture deeper into the masonry core.
Beyond the masonry itself, several other failure points accelerate deterioration:
- Damaged chimney crowns: The concrete or mortar crown at the top of the chimney is the first defense against rain. Cracks here let water funnel directly down into the flue.
- Faulty or missing flashing: The metal seal where your chimney meets the roofline is one of the most common sources of chimney leaks in older homes.
- Condensation inside the flue: When a wood-burning fireplace is converted to gas, the cooler exhaust temperature creates condensation that saturates the liner and surrounding masonry.
- Blocked or absent chimney caps: Without a cap, rain, debris, and animals enter the flue freely.
What makes the damage so costly is how far it travels. Water migrates down interior masonry cores and along embedded floor joists, causing deterioration well beyond the visible leak point. You might notice a stain on your second-floor ceiling while the actual entry point is a cracked crown three feet above the roofline.
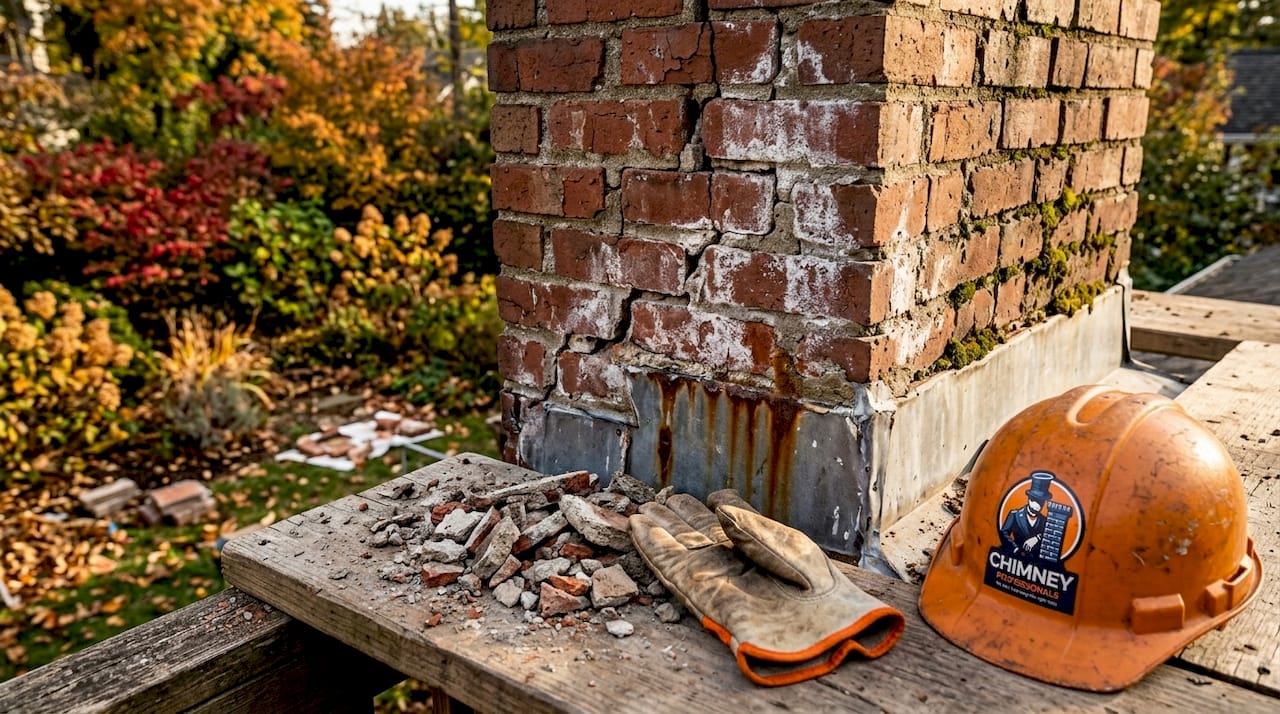
Warning signs of serious moisture intrusion include white chalky deposits on brick surfaces (called efflorescence), rust streaks running down the chimney face, persistent musty odors near the fireplace, and paint peeling on interior walls adjacent to the chimney. Each of these points to active water movement inside the structure.
Pro Tip: If you see efflorescence, do not just scrub it off and move on. It is a symptom, not the problem. The white mineral deposits appear because water is already moving through the brick and evaporating at the surface. Treat the source, not the stain.
Ignoring these signs carries real risk. Structural damage from trapped moisture causes bricks to flake and detach, eventually leading to tilting or collapse. Cracked flue liners allow carbon monoxide to enter living spaces. Mold colonies establish quickly in damp masonry cavities, creating ongoing air quality issues throughout the home.
Tools, materials, and when to call a professional
Before you touch anything on your chimney, you need an accurate picture of the full extent of the damage. Visual inspections from the ground or roofline only reveal surface-level deterioration. Thermal imaging and moisture meters locate hidden water pockets behind walls and under floors that surface patching will never address.
For homeowners planning to handle minor repairs themselves, here is what you will need:
- Lime-based mortar (matched to the original mix if possible)
- Tuckpointing tools: chisels, margin trowels, and pointing irons
- Replacement bricks that match the original size and absorption rate
- Flashing material: aluminum or lead-coated copper for historic work
- Chimney crown repair compound or hydraulic cement
- Penetrating masonry waterproofer (vapor-permeable formula only)
- Wire brushes, angle grinder, and a shop vacuum for cleaning
Pro Tip: When sourcing replacement bricks for an older chimney, take an original brick to a salvage yard rather than a big-box hardware store. Modern bricks are harder and denser than historic soft-fired bricks, and mixing them creates stress points that crack the surrounding mortar faster than the original damage ever would have.
Knowing when to call chimney repair services rather than attempting the work yourself is equally important. You should contact a professional if you observe any of the following:
- Horizontal cracks in the chimney crown or upper masonry courses
- Visible separation between the chimney stack and the house structure
- Interior walls with active dampness or soft drywall adjacent to the chimney
- Persistent leaks that return after a DIY patch job
- Any work that requires accessing the chimney from the roof
Simple repairs typically cost between $160 and $750, while major rebuilds can reach $15,000. Paying for a thorough professional inspection upfront is far cheaper than discovering mid-repair that the damage is three times what you expected. You can also review the 7 signs of chimney damage to get a clearer sense of where your chimney stands before making any decisions.
Step-by-step chimney water damage repair
Once you have mapped the full scope of the damage, repairs follow a logical sequence. Skipping steps or rushing the drying phase is where most homeowners make costly mistakes.
- Dry the masonry completely. Do not start any masonry work on wet brick or mortar. Use fans, dehumidifiers, and open airflow to dry the chimney interior for at least 72 hours after any rain event. Repairs made to damp masonry fail quickly.
- Address mold before anything else. If you find mold in cavities or on framing near the chimney, treat it with an appropriate antimicrobial product and allow full drying before sealing anything in. Trapping moisture and mold behind fresh mortar creates a serious health hazard.
- Remove deteriorated mortar with care. Use a cold chisel and hammer or an angle grinder to cut out crumbling mortar to a depth of at least three-quarters of an inch. Work carefully to avoid cracking the surrounding bricks.
- Repoint with lime-based mortar. Repairs using lime-based mortar maintain the flexibility that historic masonry requires. Portland cement is harder than soft historic brick, and it forces cracking into the brick face rather than the joint, which is far more expensive to fix.
- Repair or replace the chimney crown. Apply crown repair compound to hairline cracks. For crowns with significant deterioration, full removal and replacement with a properly sloped concrete crown is the right call.
- Reseal or replace flashing. Peel back old caulk and check whether the base and step flashing are still intact. Corroded or detached flashing needs full replacement. Refer to our expert flashing repair guide for a detailed walkthrough specific to older homes.
- Apply a penetrating waterproofer. Use only a vapor-permeable masonry sealer. Products like ChimneySaver Water Repellent allow the brick to breathe while blocking liquid water intrusion. Film-forming sealants trap moisture inside the masonry and accelerate spalling.
Pro Tip: Never apply waterproofer to dry-only masonry on a hot, sunny day. The heat causes the product to cure too quickly and reduces penetration depth. Apply in dry, overcast conditions between 40°F and 90°F for the best long-term bond.
| Common mistake | Correct approach |
|---|---|
| Using Portland cement mortar on old brick | Use lime-based mortar matched to original composition |
| Sealing before complete drying | Allow 72+ hours of drying before any masonry repair |
| Patching crown cracks without cleaning | Clean, prime, and use elastomeric crown repair compound |
| Applying film-forming sealant to brick | Use only vapor-permeable penetrating waterproofer |
For historic caulking and sealing details around window and door openings near the chimney chase, compatible materials are equally critical in maintaining the character and structural integrity of the original construction.
Verifying repairs and maintaining your chimney long-term
Completing the repair is not the final step. Verification matters just as much as the work itself. After any chimney water damage restoration project, give the masonry at least two to three weeks to cure before the first rain test.
How to verify your repairs held
- Run water from a garden hose along the crown and upper masonry for 10 to 15 minutes, then check the interior flue and surrounding walls for any sign of moisture.
- Use a handheld moisture meter on interior walls adjacent to the chimney. Readings above 16% typically indicate active moisture.
- Inspect flashing seams closely after the first heavy rain event to confirm no separation has occurred.
Seasonal maintenance that prevents repeat damage
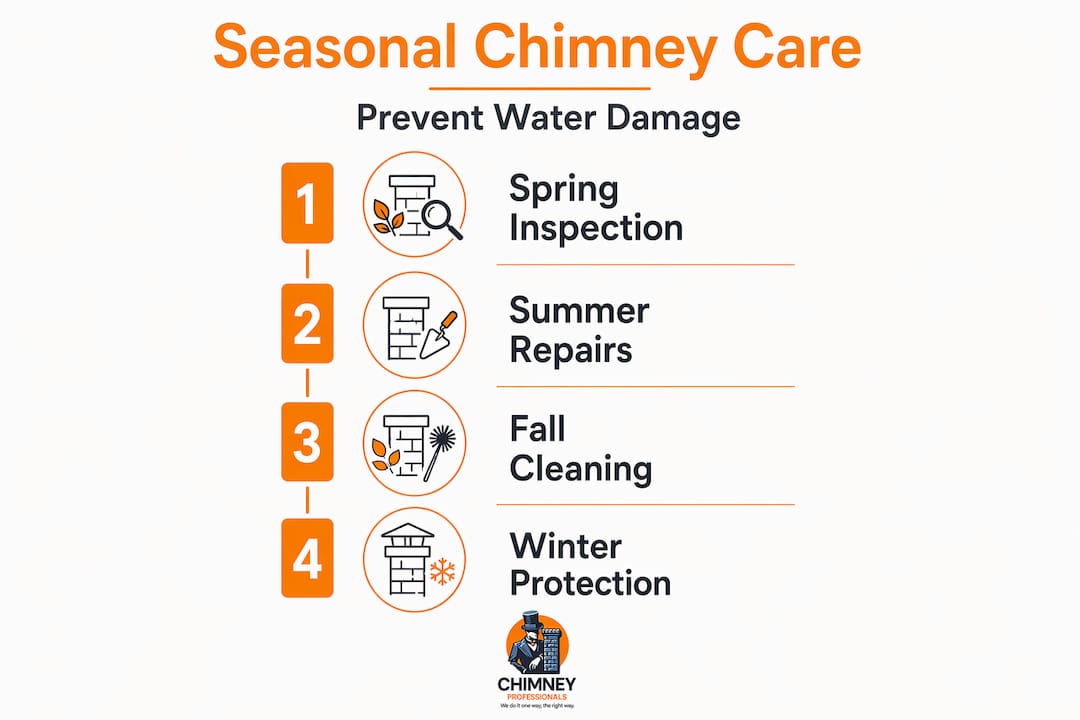
Old chimney maintenance is most effective when it follows the seasons. A consistent schedule keeps small issues from becoming expensive ones.
| Season | Maintenance task |
|---|---|
| Spring | Post-winter inspection for freeze-thaw spalling, mortar joint checks |
| Summer | Apply or reapply waterproofer if the surface shows water absorption |
| Fall | Clean the flue, check the cap and crown before heating season |
| Winter | Monitor for ice damming near the flashing and inspect after major storms |
Annual professional inspections catch what seasonal walkarounds miss. Moisture can begin damaging subfloors and drywall within hours of water intrusion, so catching a fresh failure quickly is directly tied to how much the repair will eventually cost. Learn more about chimney waterproofing options to add a durable protective layer that dramatically extends the time between major repairs.
Pro Tip: Add a chimney check to your gutter-cleaning schedule every fall. Both jobs involve getting eyes on the roof, and you can catch crown damage, missing cap hardware, or separated flashing while you are already up there.
What I have learned repairing water-damaged historic chimneys
I have seen the full range of chimney water damage situations, from minor surface staining that needed nothing more than a repoint and a good waterproofer to full structural failures where the chimney was literally separating from the house. And I will tell you plainly: the homeowners who fare best are the ones who acted on early signals rather than waiting to see if things "got worse."
The most persistent misconception I run into is that homeowner insurance will cover chimney water damage caused by years of neglect. In the overwhelming majority of cases, it does not. Policies cover sudden events. Gradual deterioration from a cracked crown that was never repaired is maintenance neglect in the eyes of an adjuster, and the claim gets denied.
What I push every older-home owner to understand is that historic masonry is not just structurally different from modern construction. It is chemically different. The lime-based systems in pre-1950s chimneys are designed to flex and breathe. The moment someone patches them with Portland cement or seals them with a film-forming product, the clock starts on accelerated deterioration. We have seen perfectly salvageable chimneys turned into partial rebuilds because of one well-intentioned but incompatible repair.
Act early, use the right materials, and get a professional assessment for anything beyond surface repointing. That is not a sales pitch. It is just what the data from real restoration projects consistently shows.
— chimneyprofessionalservices
Protect your chimney with Chimney Professional Services

At Chimney Professional Services, we work with Dallas-Fort Worth homeowners every day who are dealing with the exact issues covered in this guide. We specialize in chimney leak repair and full water damage restoration for older homes, using materials and methods that are compatible with historic masonry systems. Our certified inspectors use thermal imaging and moisture mapping to identify the full scope of damage before any repair work begins, so there are no surprises mid-project.
Whether you need targeted chimney masonry repair, a crown rebuild, flashing replacement, or a complete waterproofing application, our team is available daily from 8 AM to 8 PM. Contact Chimney Professional Services today to schedule your inspection and stop water damage before it becomes a structural crisis.
FAQ
What are the most common causes of water damage in older chimneys?
Cracked chimney crowns, deteriorated mortar joints, and faulty flashing are the leading causes of water intrusion in older chimneys. Porous historic bricks combined with freeze-thaw cycling accelerates the damage each winter.
How do I know if my chimney leak is serious?
Efflorescence, persistent musty odors near the fireplace, and rust streaks on the chimney face are all signs of serious moisture issues that warrant professional evaluation. Horizontal cracks or visible separation from the house structure indicate structural damage requiring immediate attention.
Can I repair chimney water damage myself?
Minor repointing and crown patching are manageable DIY tasks if the masonry is otherwise sound and you use compatible lime-based materials. Anything involving flashing replacement, persistent leaks, or significant structural cracking should be handled by a licensed chimney repair professional.
How much does chimney water damage repair cost?
Chimney repair costs range from $160 for minor repointing to $15,000 or more for a full rebuild, depending on the extent of the damage. Addressing issues early keeps most repairs in the $300 to $750 range.
Will homeowner's insurance cover chimney water damage?
Most policies exclude water damage caused by gradual neglect or deferred maintenance. Insurance coverage is typically denied when damage results from a cracked crown or deteriorated flashing that was not repaired in a timely manner.